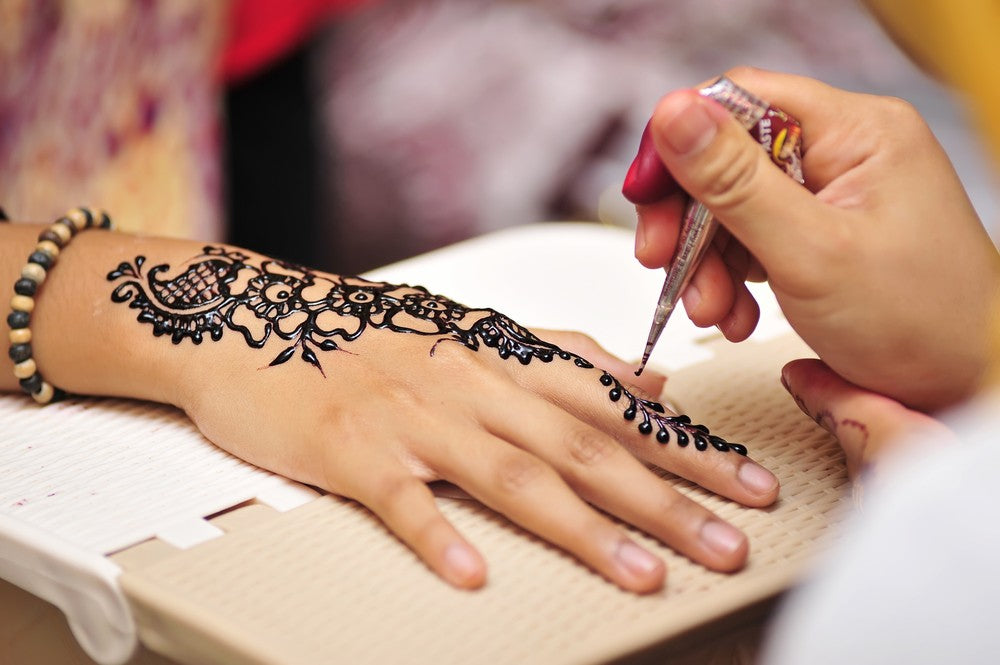
The art of henna is not hidden from the world. Although it originated from central Asia, it's quite popular in western civilization as well.
Among the many benefits, it gives you the freedom to get a temporary tattoo - without hurting your body.
For those new to the reading, henna is a plant-based herb that gives orange, brownish, or red pigments. Because of its natural ingredients, the leaves are crafted in different products like hair dye, tattoo cones, and more.
The Art of Henna Cones
Henna paste can be applied to your body in several different ways. Some use toothpick, some use squeezed bottles and some use pre-made cones.
However, you can make henna cones at home as well. If you make henna cones at home, you will be more comfortable as to what goes into the ingredients.
Cones can be purchased easily online as well as in physical shops but most of those contain harsh chemicals, preservatives and additives, but making your own henna cone at home is quite simple and relatively inexpensive. Here's how you can do this.
How to make Henna Paste?

Before making the cone, first, you have to initially make the paste. For this, we have made a separate detailed blog post that you can read.
Read More: How to make Henna Paste at Home?
Some of the highlighted points are as follows.
- Open the henna powder packaging
- Gradually add water into the powder and stir firmly
- Keep stirring with a spoon to make a thin paste
- Add more water if required
- Let your henna paste sit for some time, for best results
Watch the video:
Things you need to get started
Now that we have made our henna paste, the next thing we want is a sheet. Typically, henna cones are made of cellophane or Mylar Sheet. These are easily available on the market. Other things include:
- Sticky Tape
- A pair of scissor
- Small rubber band
Instructions to Make Henna Cones at Home
- Depending on how long you want the cone, cut the sheet into rectangle sides. The rectangular pieces are perfect to make a rolled-up cone. For dimensions, you can cut a 6x7 inches sheet
- Now start rolling the sheet from one side. Follow this through the center, up to the wider edge. Stop the process once a cone type shape is formed
- It is recommended that you keep the tip open as small as a pin hole. If it's bigger, again roll to make it smaller
- Tape the edges of the henna cone so the paste won't leak out
- Fill the cone hollow part with natural henna paste. Seal the other side of the cone and gently squeeze
- Perform a little patch test before you try any henna body art
- Remember, as long as the pin hole is small, you can make a vibrant henna tattoo
Henna Cone Perfect Application Tips
- Make sure that the cone is halfway filled with Henna
- Use a tiny rubber band to further secure the paste
- To maintain consistency, keep scooting the henna paste
- Make a new henna cone if your previous one leaves large patches
How to ensure a Darker Henna Color
- Leave the henna paste mixture for 6-8 hours
- Make sure that you apply small lines/patches
- Leave the henna on your hands for 1-2 hours
- Wash your hand once the paste is thick
- Add eucalyptus oil and clove oil for dark color
Buy Pre-Made Henna Cones
If you don't have time to make henna DIY cones at home, you can always buy pre-made henna cones. But remember, ready-made henna cones are filled with preservatives to ensure the freshness of the cone.
Some manufacturers also add chemicals to make the end-result look darker and thicker. So, it is always recommended to find a 100% natural henna cone - free from any preservatives. If you can't find one, the henna powder is the best option.
Buy Pre-Made Henna Kits
Surprisingly, there are henna tattoo kits available in the market as well. These are already formed sheet, with different pin-hole instruments to make different shapes. Just fill them up with a fresh henna paste and you’re all set.

